My first priority for my project this week was to undertake some research on how exactly messages can be hidden within PNG image data. Throughout my research I have frequently come across a technique known as ‘least significant bit’ steganography, it is generally regarded as the simplest and most straight forward technique to implement so it is the one I will be going with for this project. It is worth noting however that other steganographic algorithms do exist that take advantage of certain mathematical quirks that arise from the process of image compression, a very good overview can be found here:
https://www.youtube.com/watch?v=TWEXCYQKyDc
Admittedly, least significant bit steganography is fairly easy to detect if the viewer has a copy of the original image file to compare, however I feel that for the purposes of this project it is good enough as I am mainly doing it for the learning experience, rather than to produce the most secure steganography tool.
So with that said, here is how least significant bit steganography works:
Every image at the simplest level is made up of a grid of pixels with each pixel being represented by three bytes, one byte for the amount of blue, one for the amount of red and one for the amount of green.
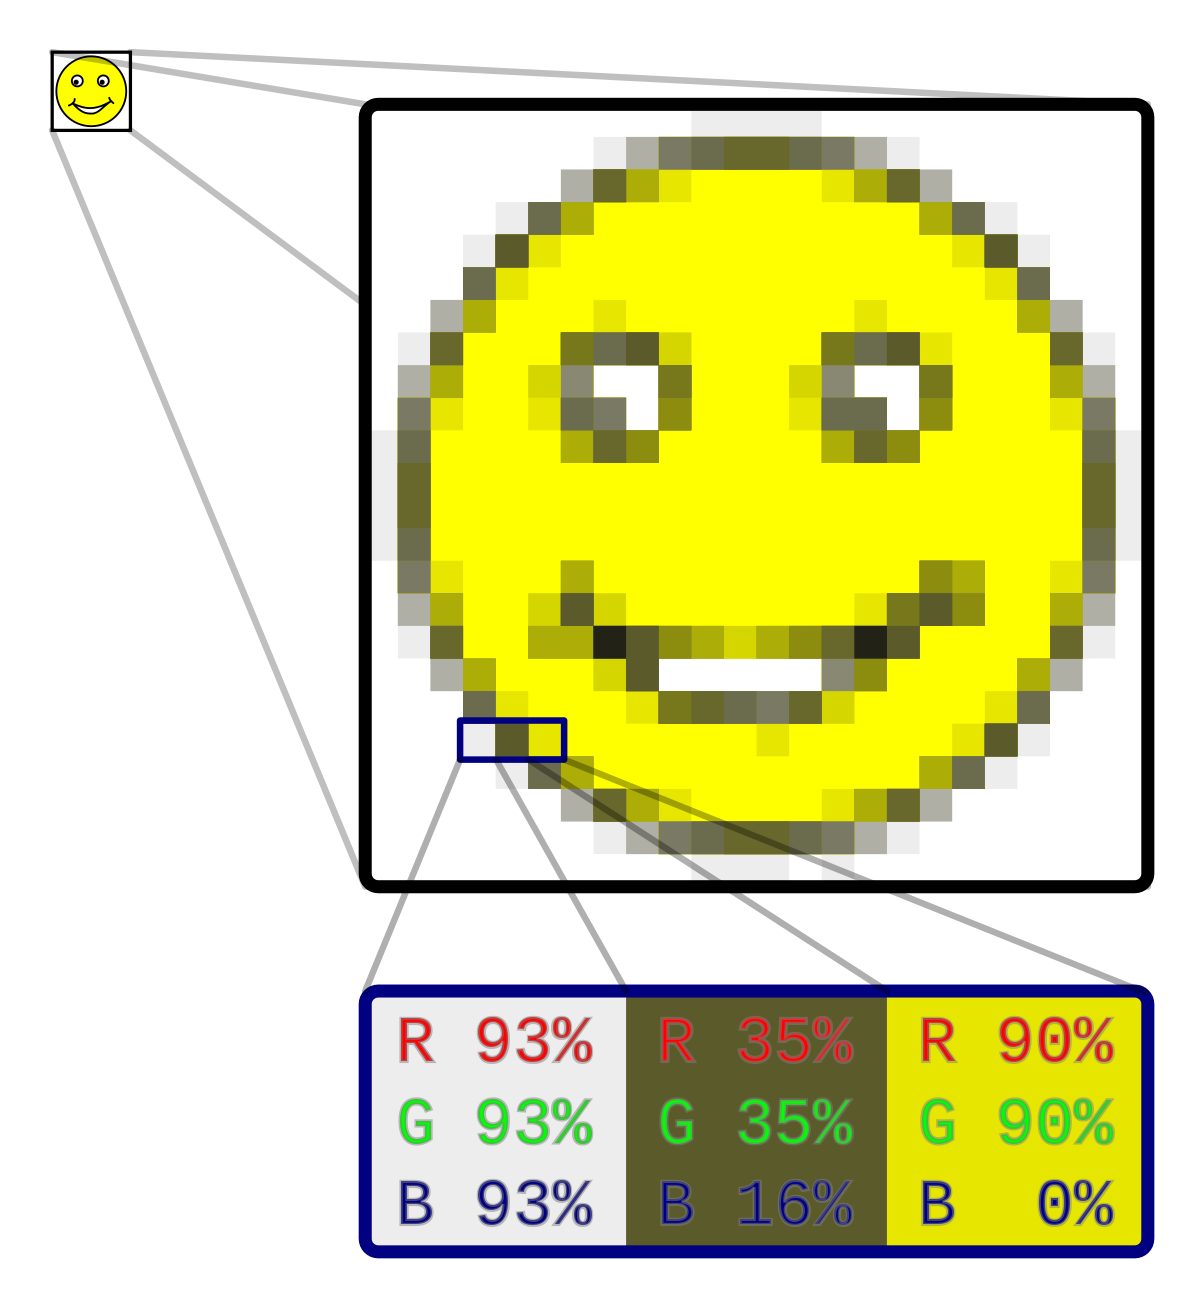 (Image from https://en.wikipedia.org/wiki/Raster_graphics)
The ultimate problem of digital steganography is finding a way to change these bytes without having a noticable impact on the image as a whole. The way the least significant bit method achieves this is by altering the last, least significant, bit in every byte so as to distribute the message across the last bit of every byte in the image’s bitmap. To illustrate this point, here is a table that shows how one would hide the binary value ‘111’ within a pixel using this technique:
| Without Value | Blue | Red | Green |
|---|---|---|---|
| Decimal | 154 | 150 | 20 |
| Binary | 10011010 | 10010110 | 00010100 |
Now encoding our binary value, the pixel becomes:
| With Value | Blue | Red | Green |
|---|---|---|---|
| Decimal | 155 | 151 | 21 |
| Binary | 10011011 | 10010111 | 00010101 |
As we can see, the pixel has been altered with our value occupying the last bit of each byte causing the actual colours to only be altered by 1, a difference that would be virtually imperceptible to the human eye. This example also demonstrates a worst case scenario for this method where all the bytes have to be altered, theoretically 50% of the time a byte’s last bit will already be set to the necessary value, meaning that on average 1 in every 8 pixels won’t have to be altered at all. This method can be altered so as to use the last two bits rather than only the last which allows even more data to be stored within the image, the cost of doing this however is that the changes in colour do become more noticable.
In the case of my own assignment my goal is to use the last bit of each byte, however if I have time I may experiment with allowing the user to determine how many bits are used.
Python Implementation
So now that I understand how the technique works, my next problem is planning how to actually implement it. First off I need a way to alter PNG images in Python 3, luckily this can be done using the Pillow image module which is a Python 3 fork of the PIL library. The Image.open, Image.load and Image.save functionalities provided in this library provide me with everything I need to alter the underlying bitmap of a PNG image. Documentation can be found here:
https://pillow.readthedocs.io/en/stable/
Next up I need to figure out a format for writing my messages, the big problem I face here is that I need consistent format so that my program can read and write messages effectively. The format needs to fulfill the following requirements:
- Must ensure that the program can tell whether an image has a message hidden in it or not so that the program doesn’t try and read random data.
- Must provide a mechanism by which the program can tell where a message ends so it can finish reading.
- Must allow for a message to be hidden anywhere within the bitmap, not just from a consistent starting position.
The message format I came up with is this:
- _HSTEG - The characters encoded at the very beginning of a message, lets the program know that a message is here and that this is the beginning of it.
- {the message} - Whatever data makes up the message itself.
- _ESTEG - Characters encoded at the end of a message, lets the program know to stop reading.
Each of my beginning and ending flags starts with an underscore, this is so that whenever the program sees an underscore it knows to check the next four bytes worth of encoded data to see if there is a flag there, rather than constantly having to store a five byte buffer. Messages will be encoded in the direction from image coordinates (0, 0) towards the maximum size of the image, advancing along the x-axis before advancing along the y-axis.
All in all I think I have developed a pretty solid foundation for future development, next week my primary aim will be to get some hands on experience with the Pillow library and document any lessons I learn that may impact how I end up programming the final tool.